Unit 4 Techniques and Processes - Steven
- Anthony Foster

- May 2, 2019
- 12 min read
Updated: May 30, 2019
Intro
For this unit I have to do research on two different artists that have different styles of photography and form an essay with the 1500 words from it by talking about their different styles and one of their images to compare and contrast their work and work style. Along side that I need to do a visual assignment on the themes Vernacular landscape and Changing tides.
when I do a photoshoot I need to talk about what went well and what I could have done better and how I could apply it with in my next shoot for both visual assignments.
Research assignment
The task is to research two different photographers right about their work and time as a photographer; select and analyse an image of theirs then follow it up with compare and contrast of both artists work that I choose.
Artist 1 | Research assignment | Annie Leibovitz
Annie Leibovitz is a celebrated American photographer, recognised for her celebrity portraiture and dreamlike Disney portraiture for promotional use. Her photography has a subject matter typically in an intimidating setting and pose. Leibovitz is my all-time favourite photographer because of her work as a fine art photographer working on films such as Les Misérables, Disney’s Cinderella and Brave also the work that features worldwide famous people like Queen Elizabeth, Michael Jackson and John Lennon. Today she has her studio where she runs classes on teaching people everything she knows about photography and tells them about the true meaning and story behind her images. Her career as a photographer has spanned nearly over five decades. She started in the '70s where she became a widely celebrated photographer, working for the Rolling Stone Magazine, the Vanity fair, Vogue and in many different independent projects. Her reputation as fine art, commercial and portraiture photographer keeps on growing, due to her having a very distinctive style. “Whether she was photographing the famous and powerful – or simply the woman next door – Annie always captures something unexpected and deeply personal” – Oprah Winfrey.
An image analys

Annie’s portrait photos have a Dutch master’s painting feel to them. This might be down to her having a significant fine art background and a great love for painting. In her portrait images, they all are very well uninformed with a bold choice of colour tones, a charming lighting style, with unique poses which allows for a very detailed image. All of her pictures appear to have a clear and sharp focus. Her work features at least two different light sources, with one of them usually coming from the side and the other one being directly on the subject matter. Both of the light sources tend to have a large Octabox. Some of her portraits that are done outside have a bit of a 'deep' depth of field from the subject matter to the background which creates a negative space typically, however the portrait work that has been done in a studio tends to be more of a shallow depth of field but still keeps a bit of negative space.
Artist 2 | Research assignment | Chris McCaw
Chris McCaw is a contemporary American photographer. He has been working in the darkroom since the age of 13. After high school, his passion for photography grew, taught himself everything that he could learn about the subject. However, he fell in love with using a large format camera and in 1992 he got his first 4" x 5". as the year went by, he started to adore using platinum/palladium printing process and even large camera. Now today he is making a living through the platinum/ palladium of analogue photographic mediums with him project being titled sunburnt.
The image that I’m talking about is part of a body of work each image is black and white also each one is called Sunburned. This image looks it been folded into four sections and burned a little down the fold lines, however it turns out that it real just four big images each of them printed on 4”x10” unique gelatin silver paper negative then burnt on one side. Inside each segment, there is part of what seems to be a mountain or a hill. A black dot that is supposed to be the sun at different times of the day as the sun is setting, on the other hand, if the image was flipped over it could show that the sun is rising. It not clear if his allowed for thirty minutes exposure time or is each print done with thirty minutes apart to allow for the sun to move across the sky.
McCaws works in the old darkroom film camera style where his work is allowed to have a long exposure time that is needed for his photography. McCaw's work usually is a play on words such as Sunburnt he would take a photo of the sunburn marks to break up the different time where the sun is in the sky it gives me the impression that he wanted to play on the word Sunburned by taking multiple exposures on with the sun in different places in the sky. Each exposure is taken develop on four unique gelatin silver paper negatives, put together to create one set of an overall outcome.
Chris McCaw image analys
The image that I’m talking about is part of a body of work each image is black and white also each one is called Sunburned. This image looks it been folded into four sections and burned a little down the fold lines, however it turns out that it real just four big images each of them printed on 4”x10” unique gelatin silver paper negative then burnt on one side. Inside each segment, there is part of what seems to be a mountain or a hill. A black dot that is supposed to be the sun at different times of the day as the sun is setting, on the other hand, if the image was flipped over it could show that the sun is rising. It not clear if this allowed for thirty minutes exposure time or is each print done with thirty minutes apart to allow for the sun to move across the sky.
(long exposure time, film photography
burn marks to break up the different time where the sun is in the sky it gives me the impression that he wanted to play on the word Sun burned by taking mulitples. https://www.chrismccaw.com/new-page/


Compare and Contrast of both artist work
Both photographers are contemporary American photographers with a fine art style towards their work, and both photographers feature the use of negative space photos. Even though they are both are still working photographers they don't use the same media as Liebovitz uses digital photography but in her early days as a photography she would have had needed to use Film photography until the rise of digital photography on the other hand McCaw still works with Film photography format.
Both of them have some form of landscape style and fine art style within their work. McCaw’s work seems to be a bit flat and two dimensional with only a foreground but likes to play on words for this projects. In the same way Leibovitz would find away to feature landscape and fine art style into her work but she force on more of a commercial and portraits photography. Her photograhphy has more of a three dimensional feel to them as it has a foreground, midground that would typically have a model places in that part of the frame and backgrounds to give the image more depth of filed.
Visual assignment 1 - Vernacular landscape
Ideas development | Artist research | Andy keen
Andy keen did a series of images that feature and that was set around the northern lights
Keen is a photographer who loves to photograph and hunts the northern light. he enjoys going around looking for different places and angles of where the lights can be also where to get the best view to sit and watch the event unfold right. As a photographer he in his field he spends most of his time camping and traveling all around the world to photograph the amazing wonders.
https://keen-photography.com/gallery/
Ideas development | mood board
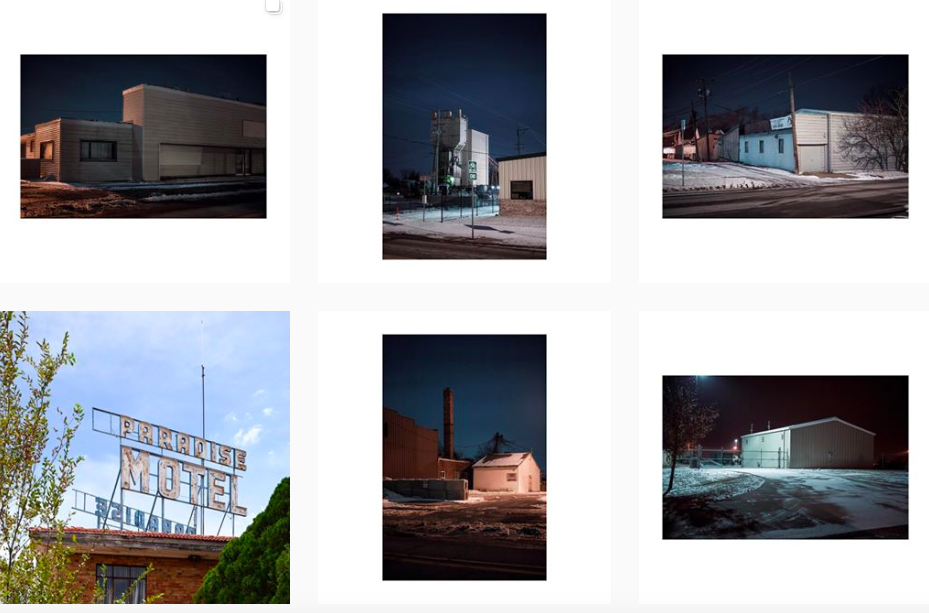
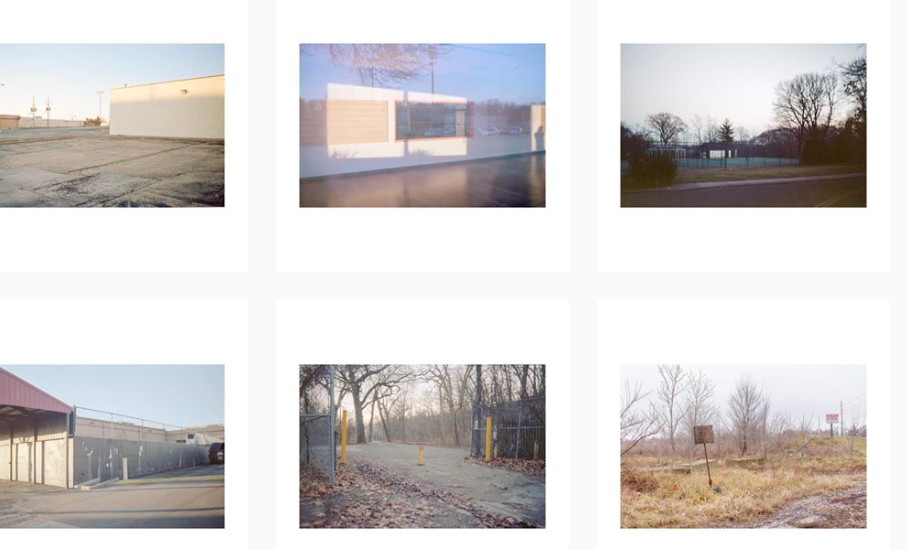
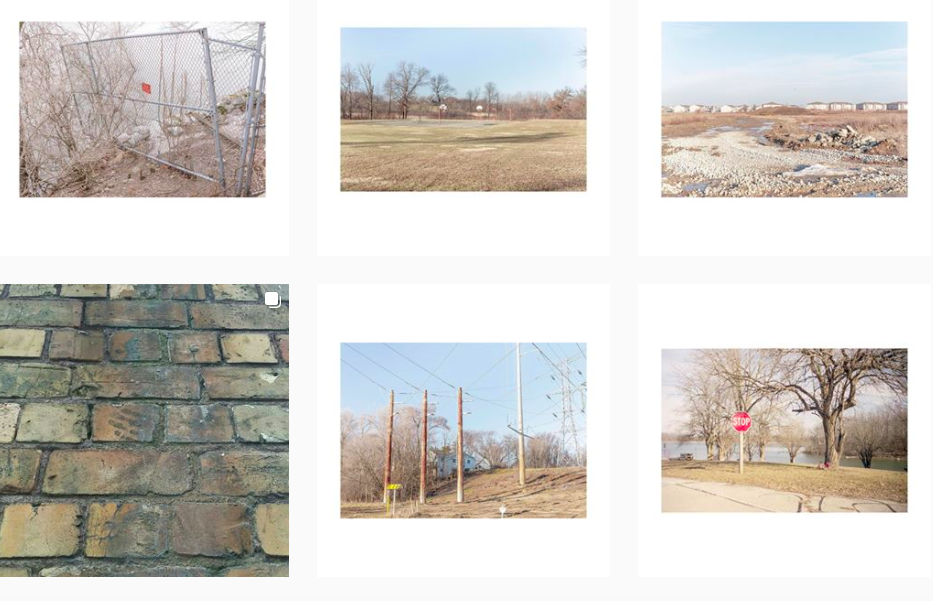
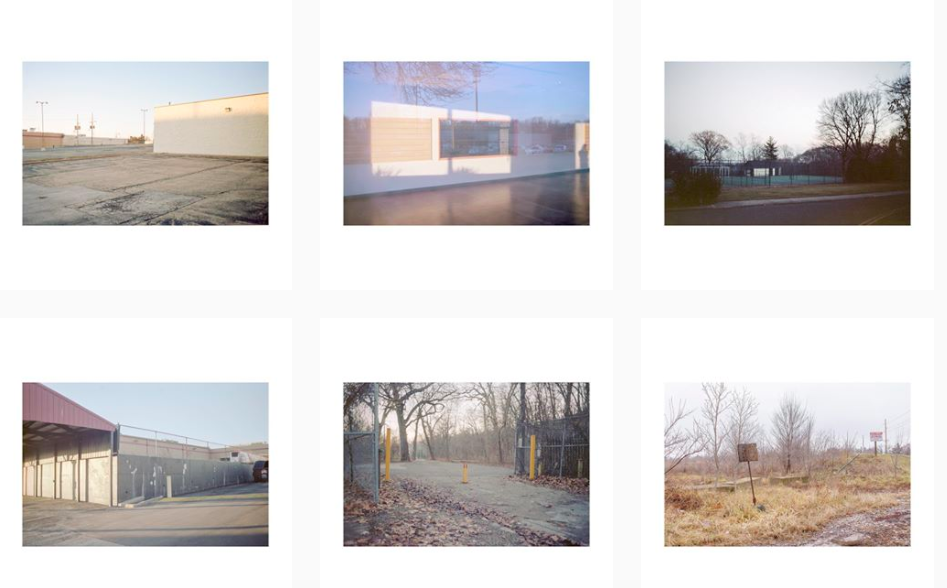
My aim for this shooting task is too capture images of empty shops though out the local area and shops that look abandoned and worn down. Southport is a great area for this because it known for small businesses to go out of business and not to stay long. The only time of they year where Southport has a some sign of life is the summer due to the lovely weather. My approach to this so to take a street photography style approach to I want to able to shoot straight on to the different places.
By using my mood board of images I can gain some inspiration and try and recreate some of them thought the shoot that I plan to do for this assignment
First test shoot
For the shoot I shot on shutter speed priority and wanting uniform my work by shooting square on however I believe on reflection back at the shoot I didn't frame the subject matter well as some are offset. For next time I should be more careful on how I frame and perhaps look at the 3by3 grid ( in the view finder) that is used to get greats results for the rule of thirds technique.
2nd test shoot
I believe that my approach to the theme was better than my first shoot as I had the builds more square on when I used the 3by3 grid as was allowed to frame the subject matter better, the time of day and lighting that I chose to shoot it helped to gain a stronger outcome as the shadows helped with the framing and gave a stronger impact to my outcomes, still shooting on shutter speed priority and matrix metering however I think that next time I should use aperture priority and spot metering as will help to darken the shadows as long as I use the spot metering mode to meter for the highlighted areas and exposure lock as it should help with the shadows, plus I will need to remember to shoot at the same time of day as this shoot with the same type of lighting.
Third shoot
I went out to recreate am image as I was almost there with it but I need to make improvements such as shoot the building straight on, to be able to fit what I want in frame fully. However, the shoot was only focused on one building and all I did was shoot on aperture priority and spot metering as I metered for the highlights and the only things I changed was the exposure composition and the zoom with from lens and subject matter.

The only thing that didn't go to plan was the fact that the shadow going across the shutter wasn't as high as last time and this time I couldn't get way with having the post in the middle of the building.
Post production
After I did all my shoots I then took my strongest outcomes into Lightroom to brighten it, the exposure was brought out more to help with highlighting the detail with n the white areas and it was given a crop to give it a geometry likeness with the three triangles.
Before After
After Before
Final outcome
Visual assignment 2 - Changing tides
Ideas development | Artist Research
Photographer research - Bree Madden
She is a contemporary photographer who has a unique style where her work is very bright and set around one theme of beaches.

Ideas development | Mood board
Different time of day, daytime and night, time lapses . I could show this things like the sun in the sky going from sun set and sunrise, the movement of the tides at a beach. I chose these images as I like how they show different ways for capturing movement.
Test shoot 1


I had to look up when the best time to shoot so I needed to look up when there was high and low tide so I know when to shoot because I wanted to show the tide at different points of time. So I can catch the movement of tides.
I found that doing this research really helps as you can't really do at any point during the day as the light pays a big part in this because if the two much light then the image will be over exposed but it will allow for the longer exposure time which does play a big part into it,
When I did the shoot I set the camera to built set which allows for a longer exposure time as long as I have some form of release cable otherwise I will need to hold my finger on the shutter for the duration of the shoot. to able to found out how long I need to keep the shutter speed first of all I need to set the aperture and is to the lowest point then to help me a used an Exposure calculator to help work out what the shutter speed time was also I used a ND filler which allowed to stop light flooding in the the lens and helped to slow down the shutter speed even longer.
I tried out different shutter speeds and the iso afterwards I remember that I took the iso too high which caused for to much light to go through the lens which allowed for the outcomes to be over exposured and shorter shutter speed the complete opposite of what I was aiming for.
next time I need to do longer exposure I need to bring the ISO down not up to allow for more light pass through. I had the iso set high which give the outcome to become really over exposure
I had the camera on live view so I can see if everything in the frame was level also I used a tripod to stop camera shake because of the really long shutter speed.
during the shoot I wasn't sure if the shutter speed calculations was correct because the results coming up for like 4 hours plus so I tried changing some of the factors besides the ND filler because it was fixed to -3 exposure stops also the results during the shoot came out over exposure but the was one where it came out well.
Next time I do this shoot I should just have the setting set to the longest shutter speed that I can and just try my best to wait around that long.
Post production
during the my time editing the photos all I did was adjust the levels and covers then wanted to try out and see what the image would look like in black and white
Test shoot 2
I did have a the camera set to 100 iso to allow for more light to pass through but I think the exposure time was to short as it was only at 4 mins or shorter for shoot I had a ND 3 filler and a wide aperture set at 5.6 of a F stop. why I think that the shutter speed was to short because most of my images from the shoot came out under exposed however then when i managed to get the camera set to 4 mins I finally got the exposure I wanted which is shown in the image below which is just straight out of camera with no editing done to it what so ever.

the iso was set to 100 which I learned from last time as I didn't want to over exposure the image and I wanted to allow for more light to be added in. However I think I that I arrived to the location too late as the the natural lights was down so I only and light coming from the pier and the cafe at the end of pier otherwise the picture would be underexposed and the shutter speed would have been a couple of hours long. However I ended up with shutter speed being at 4 minutes long.
I chose to shoot at the same place with the same angle as I can compare what different the shutter speed makes however I couldn't make to the location at the same time of day so I missed the sun setting however with the light that came from the pair helped to give out a better and completely different outcome compare to the other shoot as the last shoot had a purple tone that came the sun set and the colours in the sky. On the other hand for this shoot the light from the pier helped to give a fine art feel to it and really brighten colour tones. The blue light is truly are there it coming from a spot light the building at the end of the pier.
Next time I want to expand my shutter speed even longer to see what different it makes
change many location
multiple exposure
3rd Test shoot
I managed to find time to do a third shoot but I wanted to change the time of day and the location. I went for a late morning were the sky is dull and overcast with grey clouds. For this shoot am still using a tripod but I have the camera set on to manuta mode with a. ND filter at 10 - stops to loss alot of light and really slow down my shutter speed the camrea is set to build with a release cable which allowes the camera to shoot on build mode and on a timer and to have a very long exposure time I used an app on my phone to help me work out what how long I need to shoot for.
I put into the app what I already have the camera set to in apertue prot which is F22 and a shuter speed at 5" and my ISO at 100 and add the ND filter 10 stops which gave me a final outcome of 42 mins.
when I did it I found out that it is was way to long, so . I went back and re did my calucations my camera is now currently set at 8.0 aperture shutter 1/8 and iso 100 and the calculator came out with Aperture 8.0 Iso 100 ND filter 10 Compensation 0% and a shutter speed 128s (2m 08s).
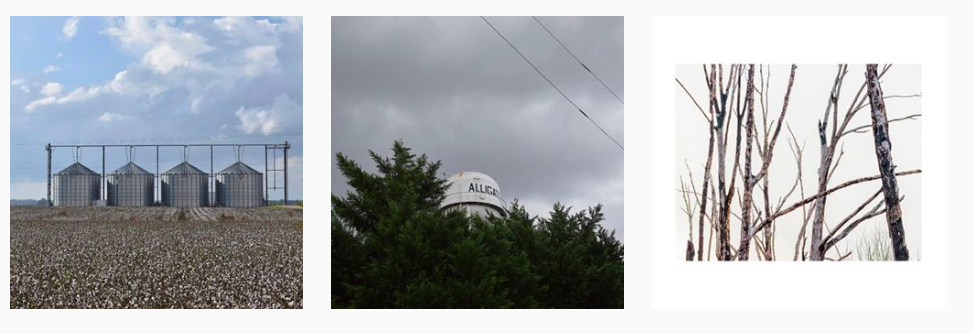
Final outcomes from both shooting task












Comments